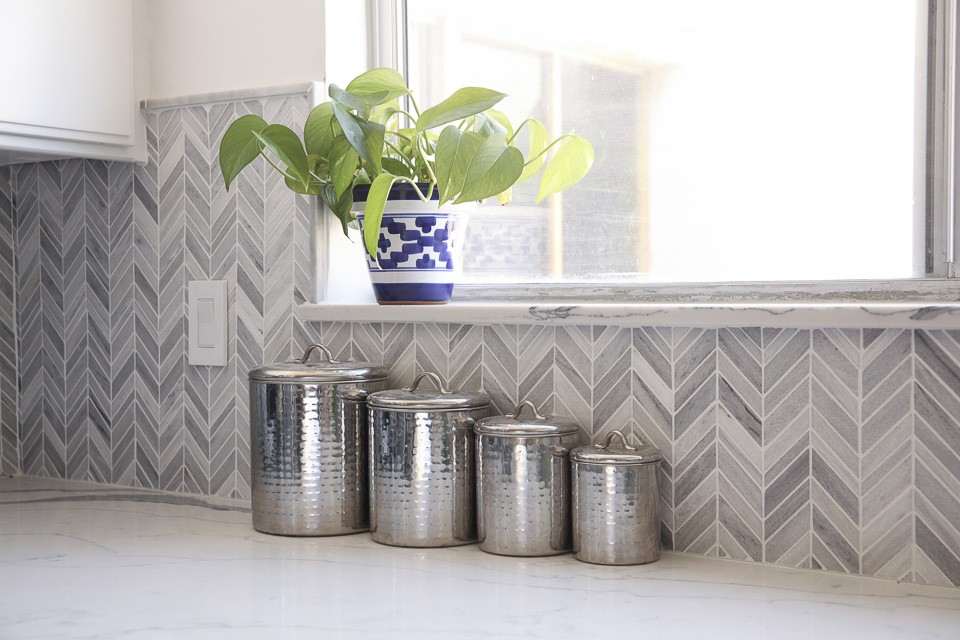
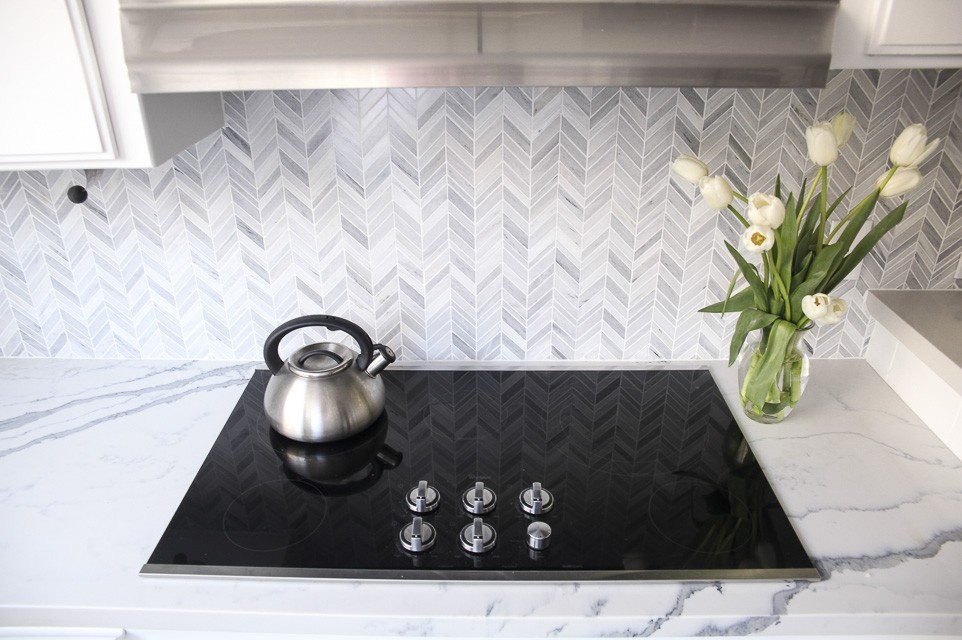
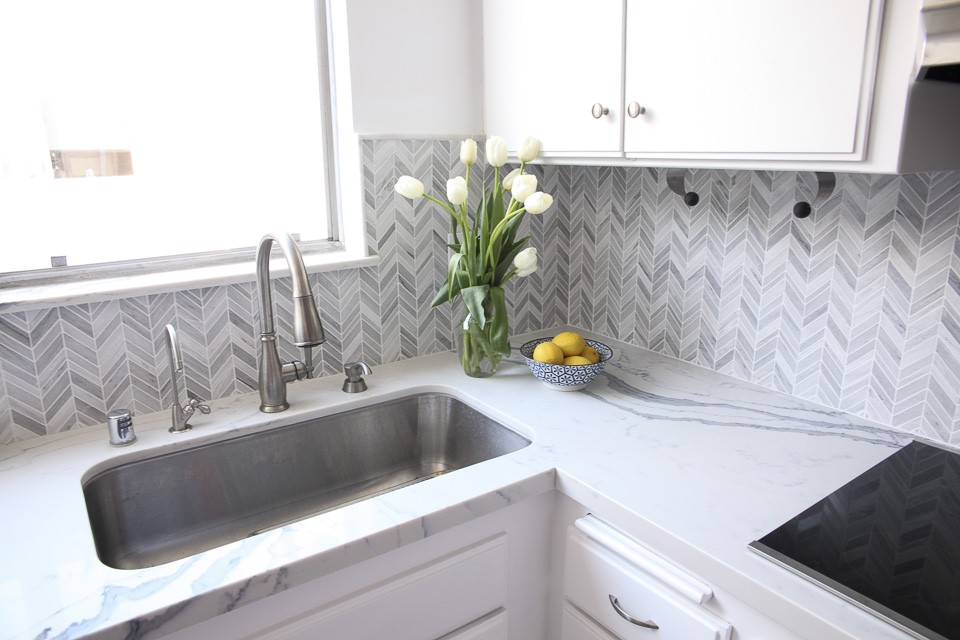
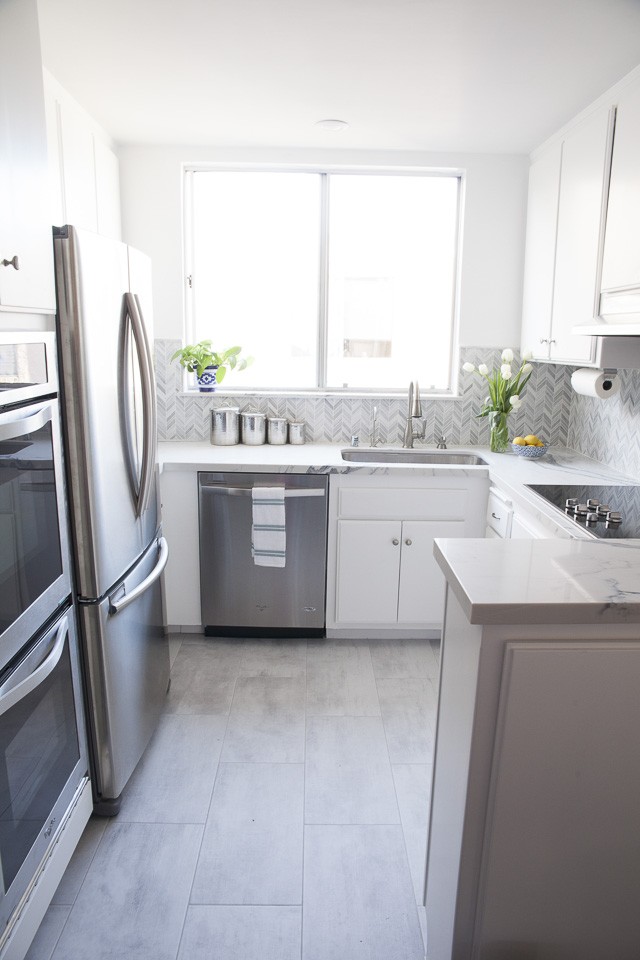
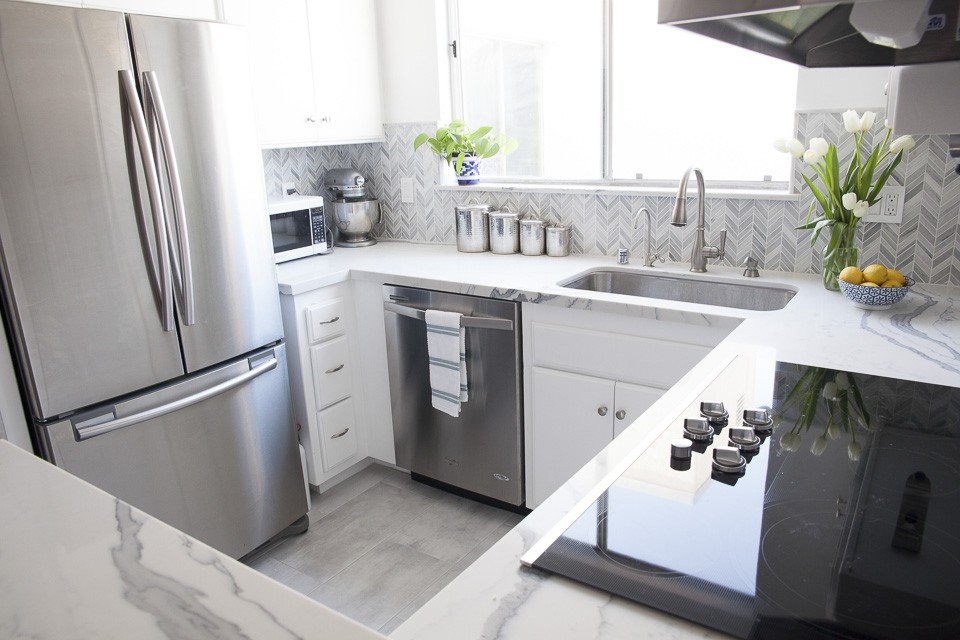
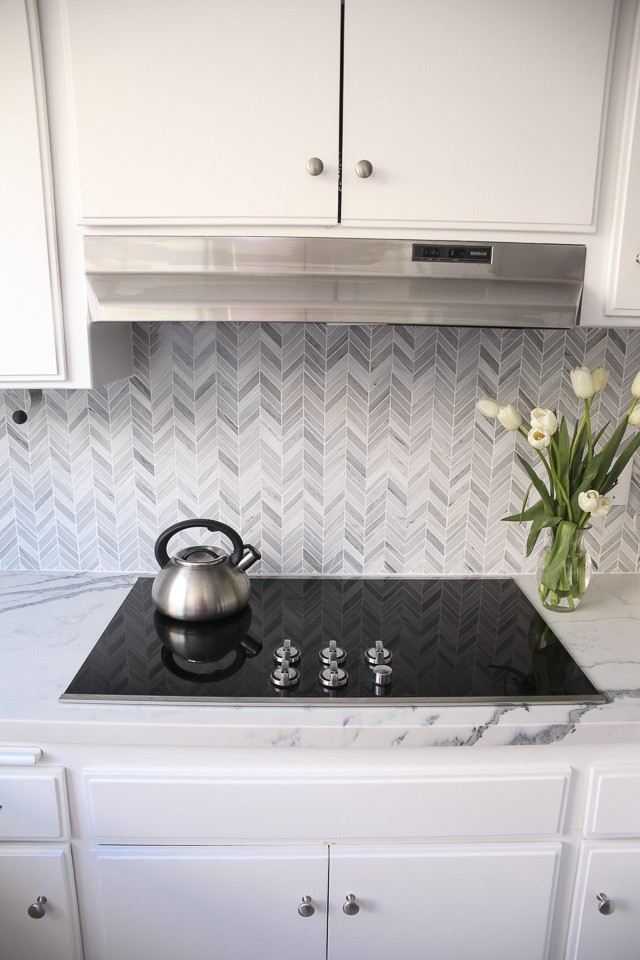
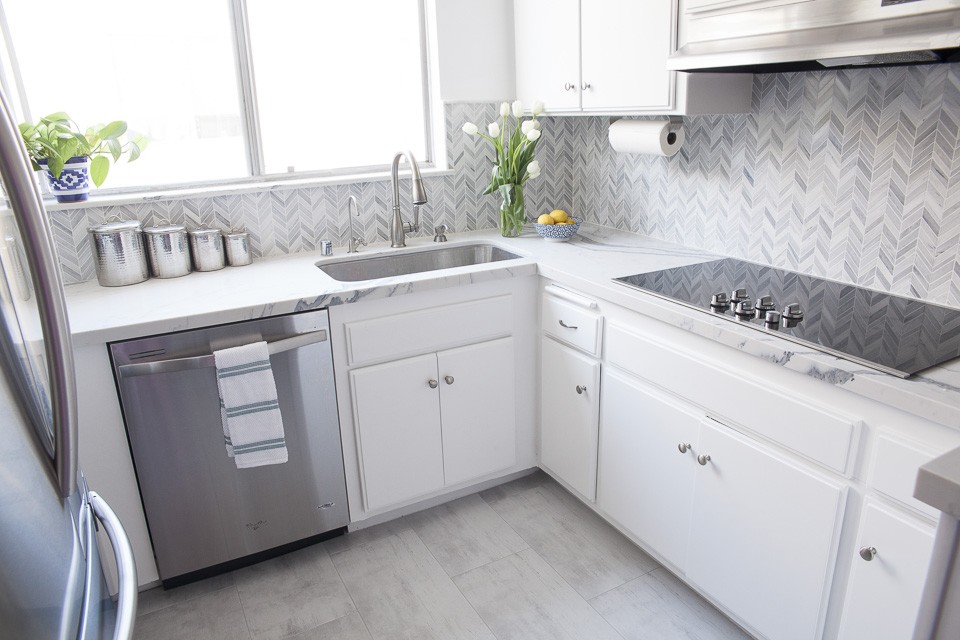
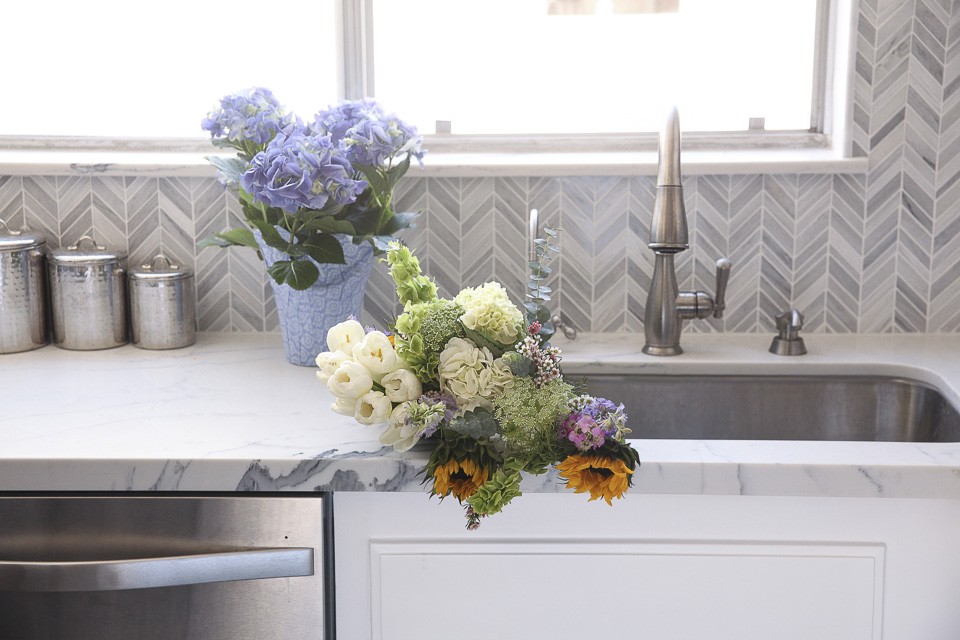
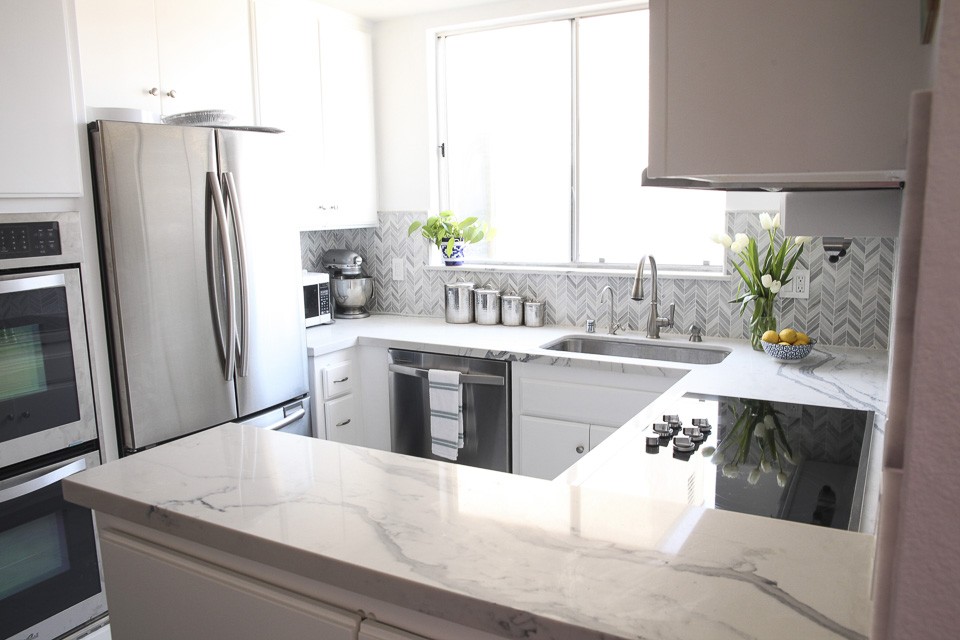
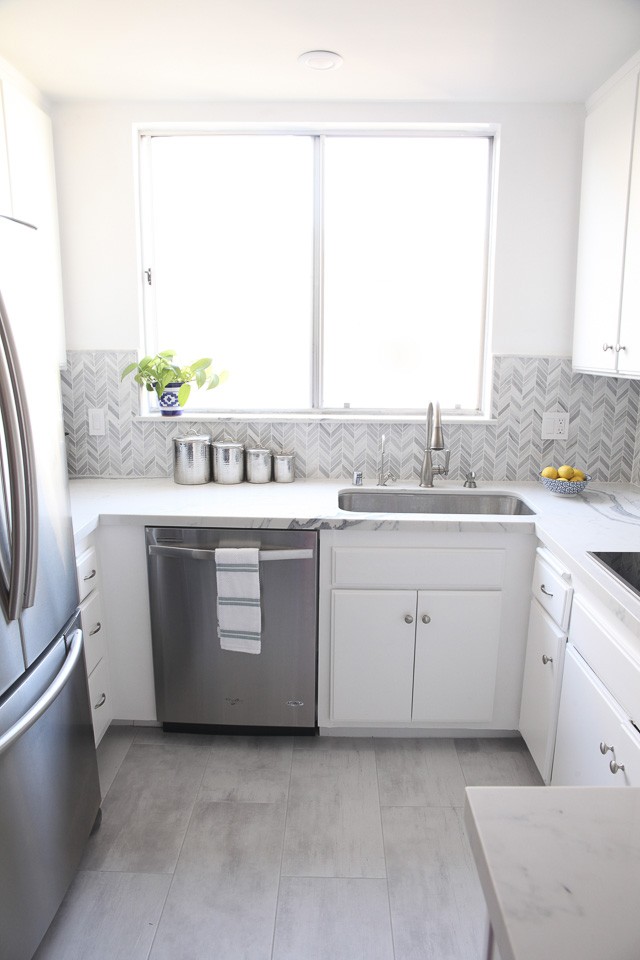
Welcome to my new kitchen! Everyone has been asking for photos so here they are!! This space is precisely to my liking and I could not be happier with how it turned out! Every morning when I wake up and see it I love it all over again.
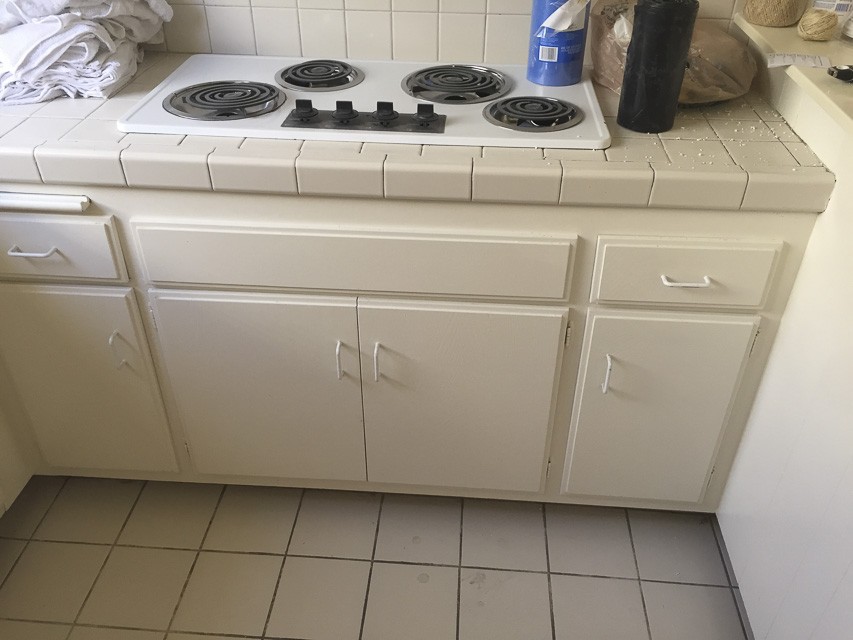
When I bought my condo about a year and a half ago, I desperately wanted to tear out the kitchen that existed. It was severely outdated, I couldn’t get the discolored floor to look clean if my life depended on it, and BOTH the countertop and backsplash were a yellowish tile that made me embarrass to have anyone over. (I’ve included some photos for you at the very end of this post so you can see what I mean.)
Designing My Kitchen
However, the master bathroom had to be remodeled first due to water damage. I finally made the leap to re-do the kitchen in the same style as the master bath: clean, bright with a modern/contemporary finish. The entire process began in early January when I started putting together a wish list and pinning images on my kitchen Pinterest board. I highly recommend this for anyone remodeling anything! You start to see a pattern of colors, styles, textures that you’re drawn to and it helps narrow down your favorites. Plus, the images will show you different options that are available. Instead of going to one tile store and getting stuck with something you don’t love.
Finding a Contractor
Once I had my ideal kitchen in mind the hunt for a contractor and builders estimates began…
I contacted several contractors in my area who had great Yelp reviews. I met with a few, got bids, and finally decided to go with Roy from Eden Builders. Not only did his company have excellent reviews, but upon meeting with him I felt comfortable that we could tackle this major project together and still get along. One hears horror stories about contractors, but I didn’t have a single issue working with him. Even with our minor set back. (Read below to find out what went wrong.) He was always honest and professional- such important qualities in anyone you allow to work in your home. (Full disclosure – I am in no way being paid or bribed to write any of this. I paid for this kitchen remodel. All thoughts and opinions I write here are my own.)
Picking the Finishes
I showed him a few images and we drafted a construction schedule. He set me up with this tile and slab suppliers. My first stop was Pacific Shore Stone a slab supplier (where you pick out your countertop. ) I knew the look I wanted and was presented with a ton of different options. I kept gravitating toward the marble slabs and tile, but as any contractor should tell you, marble is porous and can soak up stains very easily. Since my friends are all winos- the last thing I wanted was a red ringlet stain in the middle of my new countertop. Granite or quartz people. I ended up picking out this beautiful quartz countertop.
My recommendation is to allow yourself PLENTY OF TIME to pick out materials (tile, countertop, appliances, finishes, etc.) both before your construction begins and at each appointment. I was lucky that I was able to find a countertop slab that I liked on my first visit. However, I wasn’t so lucky with the backsplash tile….
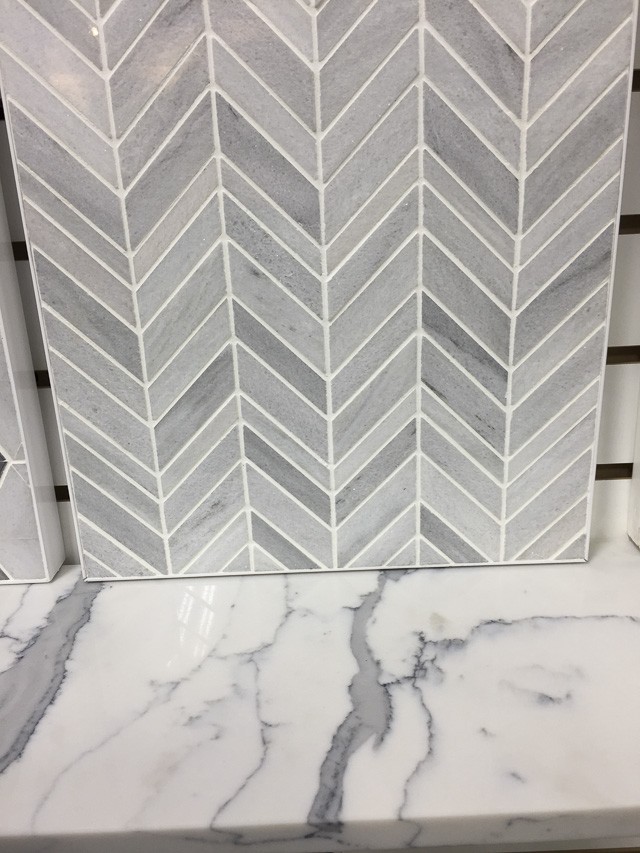
It took me 3 different trips to Imperial Tile to find a backplash tile. The first time I didn’t have enough time and was too overwhelmed with all the choices. The second time I picked a tile and thought all was said and done. That was until they told me the total price when I got home. Leave it to me to pick out the most expensive tile in the entire store. Needless to say it was way over my budget. So I went back to pick out a second option. It ended up still being a natural stone, but much less expensive.
I’ll be completely honest with you. It is difficult to pick out all of these different aspects of your kitchen and not know what the final product will look like until it’s done. That is why having inspiration photos is so important. I took pictures of everything on my iPhone and would mule over it for days. Looking back at the photos and trying to imagine what it would look like all together. All the different pieces need to compliment each other (countertop, paint color, floor tile, backsplash.) My suggestion: pick one thing and build your kitchen around that item. For me this was my countertop slab since this was the first thing I picked out.
A Minor Setback
We did have one minor setback on this project. I thought I knew what color to paint the kitchen so I told Roy without ever checking the paint can I had previously used to paint the cabinets. When I came home I immediately noticed the color was off and called Roy. He was able to fix it to the correct color within a week, but this caused a delay in our end date and ended up paying a bit more for the additional labor and supplies. Again- my fault. Lesson learned: TRIPLE CHECK YOUR PAINT COLORS!!
During Construction
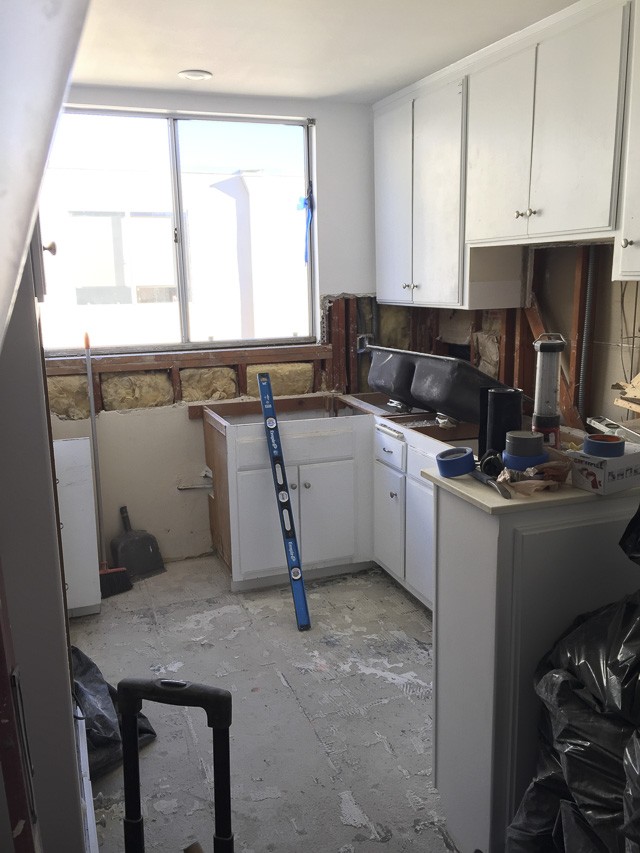
Construction started the end of March and lasted approximately 3 weeks due to our minor set back (original end time was around 2 weeks.) I had packed up everything in the kitchen in boxes and stored them in my living room. Dust is inevitable when you’re doing construction, but the workers devised this plastic tent around the kitchen to minimize as much as possible.
I have a love hate relationship with construction and remodeling. The saying that it will always take twice as long and cost more than originally expected was mostly true in my case. But I factored 3 weeks when Roy told me 2 and planned to spend 15% more than our original budget. (Good thing I did because as I shared above I have really expensive taste!) So I paid a little more for the backsplash tile. I am okay with that because there was not a third option that I liked nearly as much as the one I chose.
Appliances
I ordered all of my appliances from Best Buy because they offer 18 month 0% interest financing with the Best Buy credit card. Honestly, this company is so massive it makes them difficult to work with. There were so many little things that added up: One of my products was continuously backordered, another one accidentally canceled. At one point my delivery time was scheduled between 2-6pm and they showed up at 9am. All minor things, sure, but with a remodel every little set back can affect the construction schedule. I am happy with the appliances and chose mid-level price range, stainless steel to stay within budget.
Fun fact: The photos above were barely BARELY edited. This is how light my kitchen naturally is.
I’ve tried to link everything I purchased below. Please let me know if I missed anything and I am happy to answer any questions you may have!
Shop My Kitchen:
Appliances:
Faucet: Delta via Home Depot
Water Filter: Amazon
Fridge: Samsung
Dishwasher: Whirlpool
Cooktop: Whirlpool
Range Hood:
Paint Color: Behr “Bakers Box”
Decor:
Kitchen Towers: Target
Bowl: Target
Gold Silverware: Amazon
Silver: Containers: Amazon
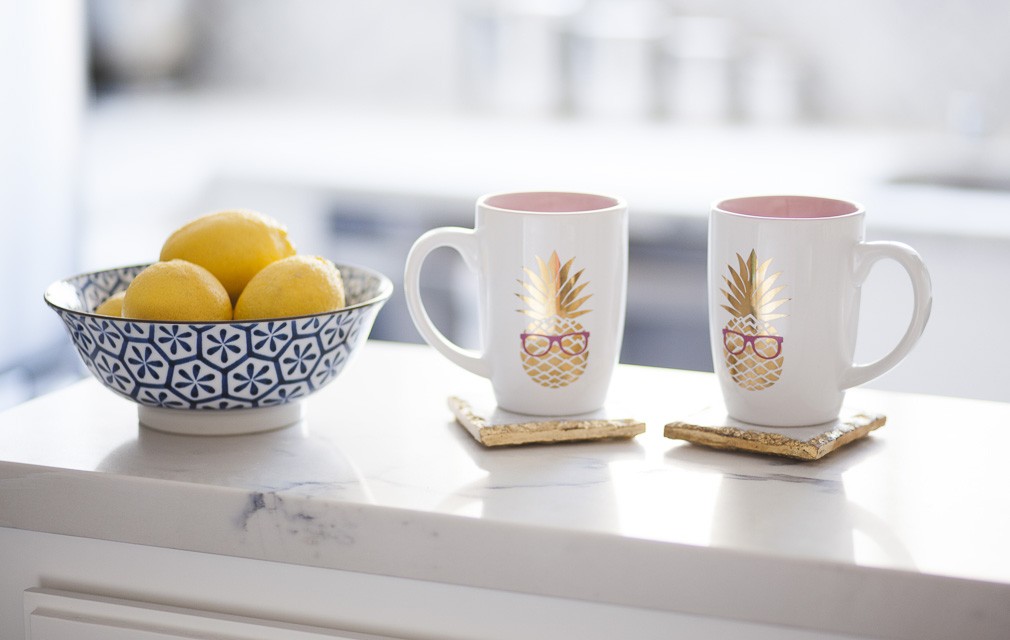
Pineapple Mugs: Home Goods
Blue Pot: Home Goods
Bowls: Home Goods
Thank you so much to Roy and his team at Eden Builders for such a fantastic job on my kitchen!
Now the behind the scenes and before photos…..
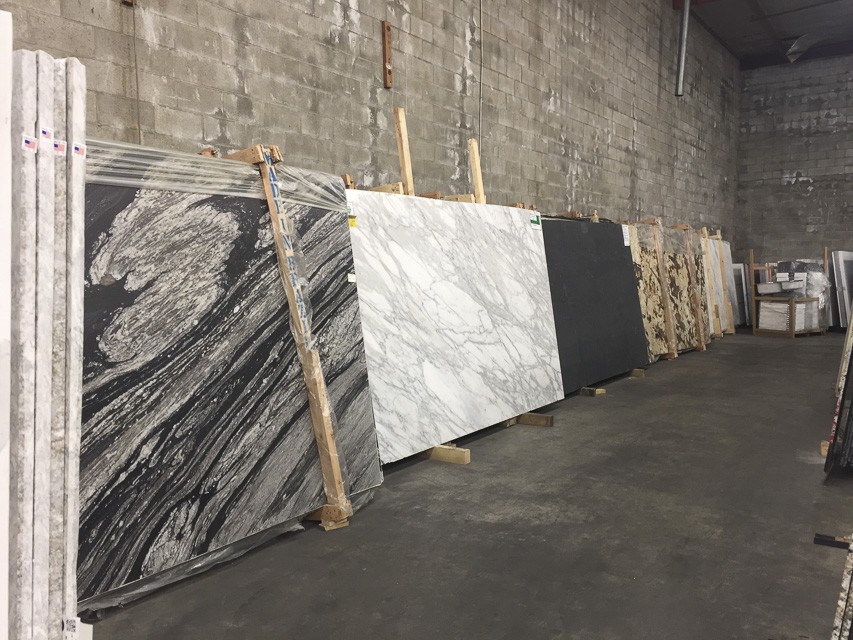
Picking out my countertop slab at Pacific Shore Stone. You buy an entire slab and then a fabricator cuts it down to the dimensions you need. These were the marble options.
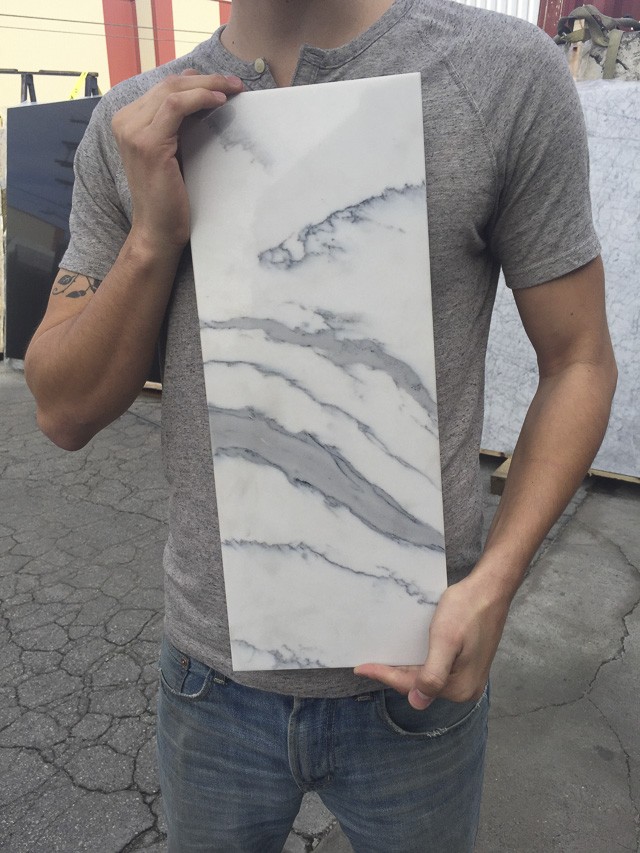
My contractor, Roy, modeling a small sample of the quartz slab I ended up picking out. It’s called “Polarstone Arabescato Corchia.”
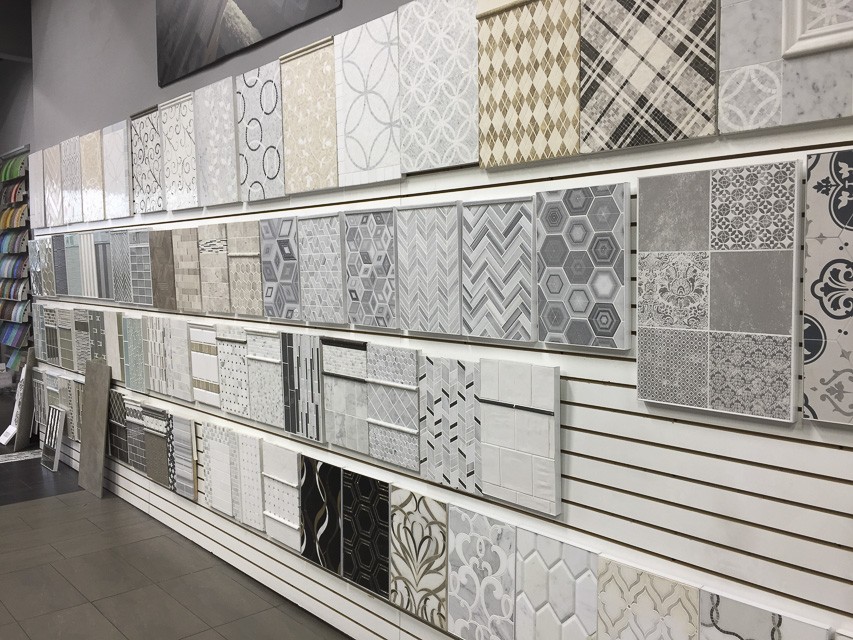
Just one wall of probably ten at Imperial Tile & Stone. The stone I picked out is almost dead center.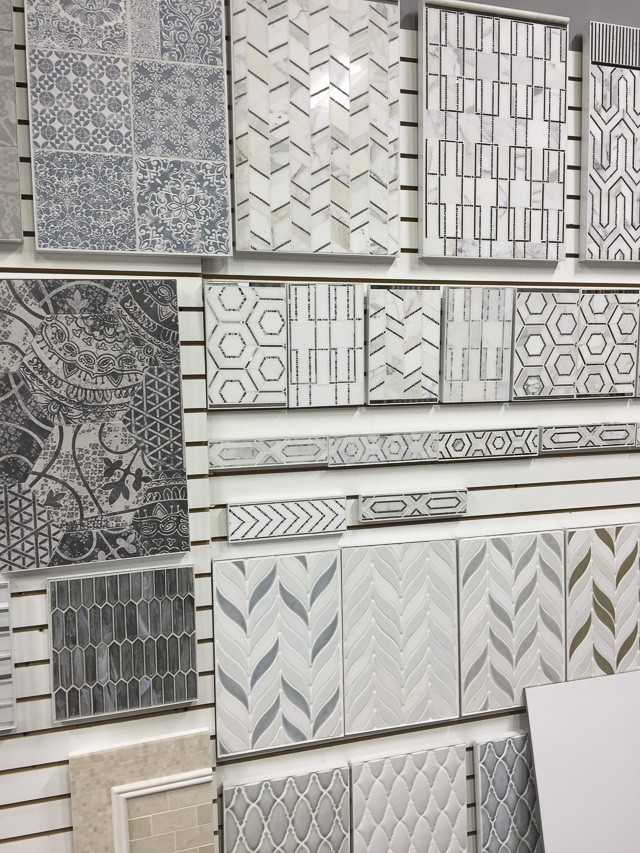
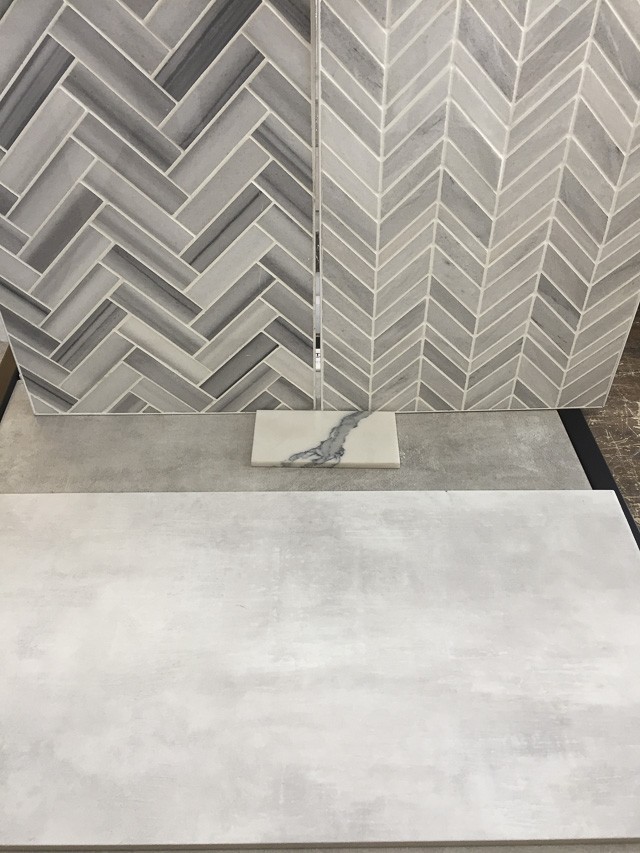
It came down to these two backsplash tile options. The tile pattern on the left is called “Zebra” and was my first choice. But it would have made me go over budget so I am glad I went with my second choice. It ended up being a better fit for the countertop anyway. The porcelain tile on the bottom of the photo is what I ended up choosing for the floor. The small tile in the middle of the photo is all I had to off of (besides a photo) of what my countertop would look like.
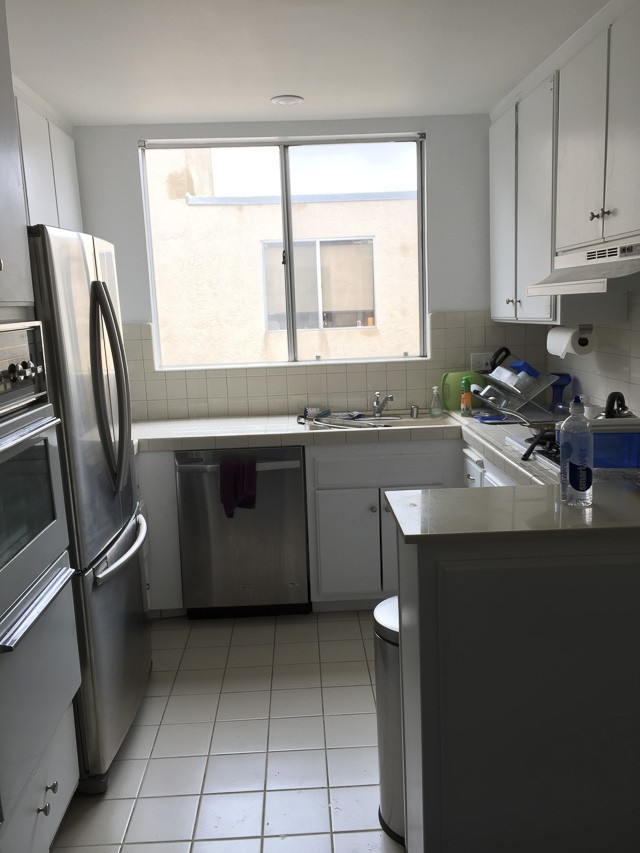
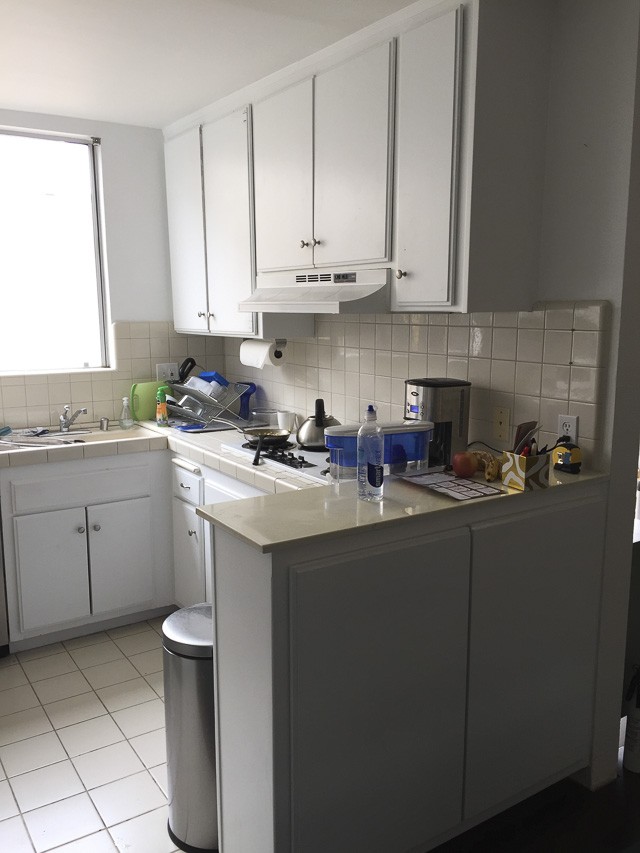
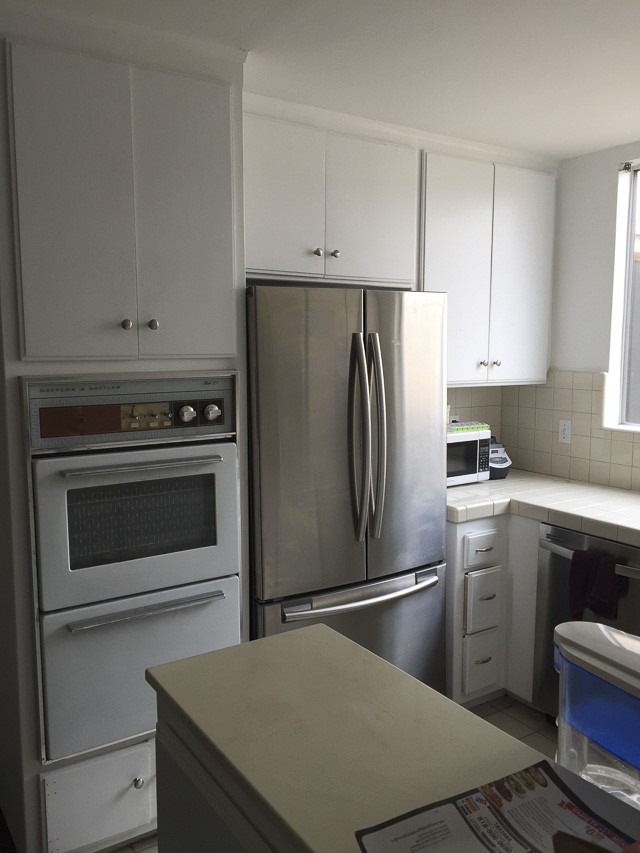
My kitchen before the renovation. Excuse the mess- I was packing it up in boxes in prep for construction to begin. See what I mean about the discolored grout on the floor and the lovely matching tile on the countertop and backsplash? Hideous.
The countertop and backsplash were a lovely beige tile. The grout on the countertop was impossible to keep clean with constant cooking. Who puts grout on a countertop? Honestly. And a coil stove top- super trendy these days.
Believe it or not, the double oven you see up above is the original from when the condo was built in the 60’s. Both ovens worked and I was a little sad to see it go. But I wanted all stainless steel appliances to match.
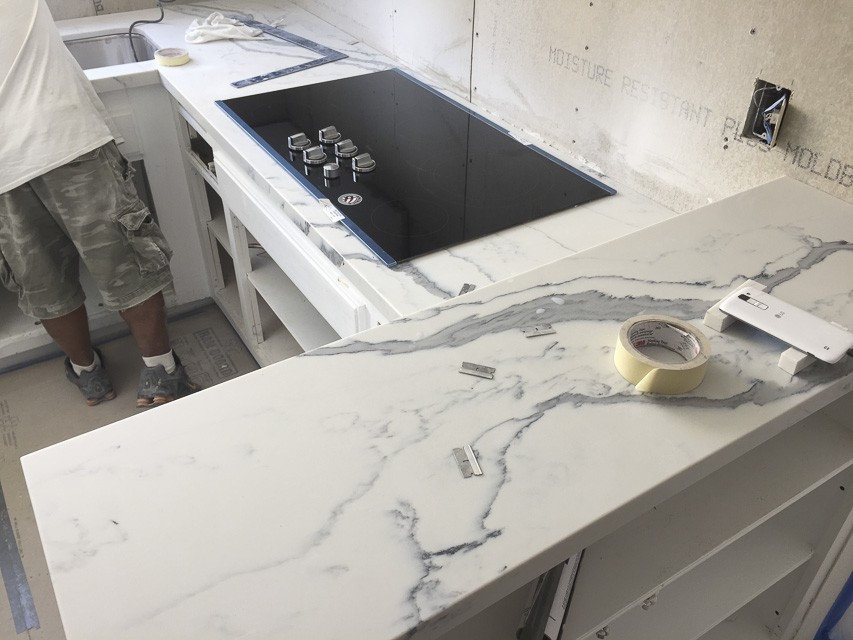
The final backsplash and countertop selections together!!!
Phase one: Demolition begins.
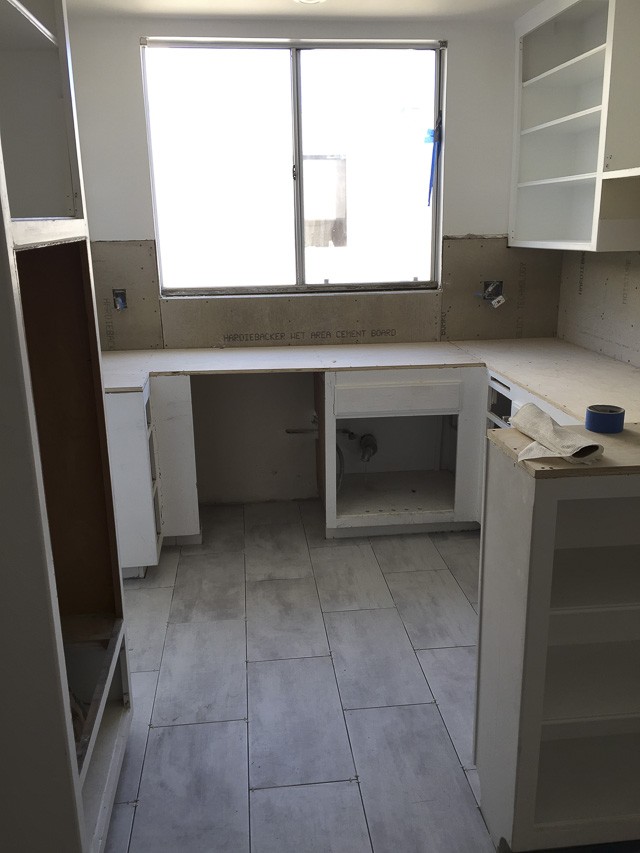
Phase Three: Countertop and cook top are put in!!!
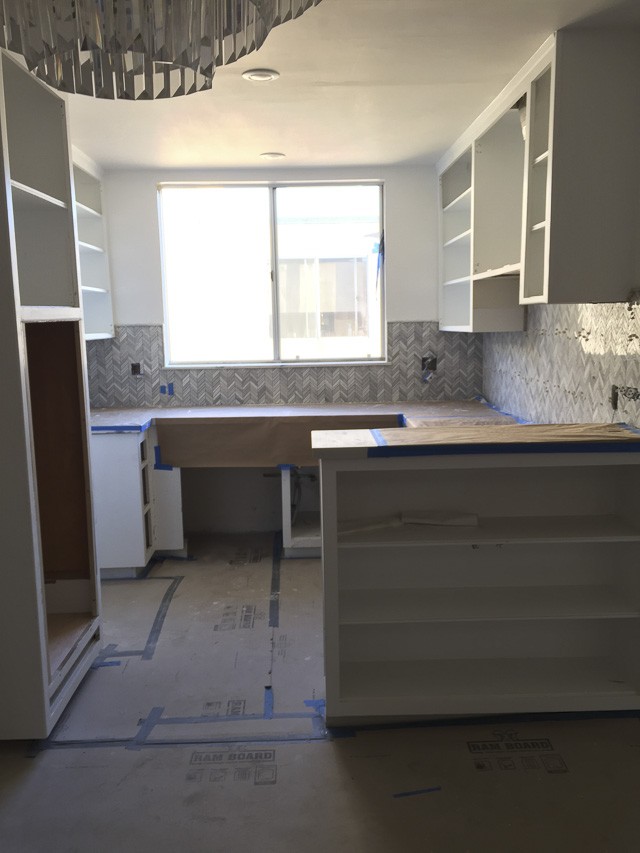
Phase Four: Backsplash tile begins to go in!
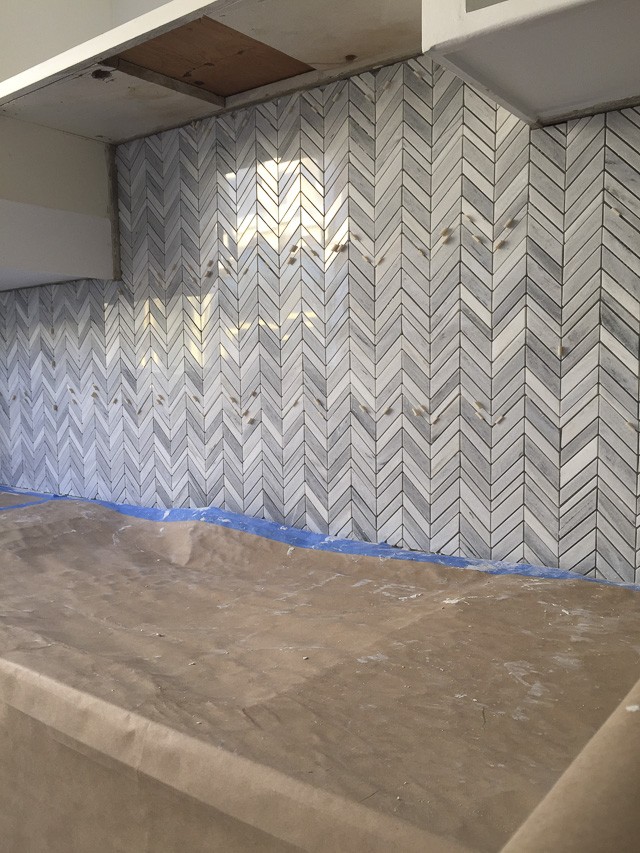
This is what the backsplash tile looks like before they fill it in with (white) grout. Don’t worry- they did not have to lay each tile by hand. The tile comes in netted sections they can more easily lay on the wall.
And there you have it, the before, during and after photos of my kitchen renovation. Let me know what you think and if you have any questions! As always, thank you for reading,
xoxo,
Laura






Love your kitchen remodel! What kind of paint and finish did you use for the cabinets? I’m trying to figure out the best kind of paint to use on my kitchen cabinets. It is such a high-traffic area I want to be sure to pick a paint that will last.
Thank you! We used a Behr paint called “Bakery Box” that has more of a cool tone rather than a warm tone. The paint was a lacquer that they sprayed on with a paint gun. It gives it a really nice smooth finish and is good for areas with moisture. It looks slightly like a satin finish, but much smoother I think. Hope that helps!
Thank you! I was thinking Behr just might be the best option.
Also, what tile did you use on the floor? I love the cement look and the rectangular shape.
Hi Lauren,
The floor tile is a 12×24 inch porcelain called “Shabby Bianko” and I used a light grey grout instead of white.
Hope that helps!
Laura
Laura, love your kitchen! Like you, I have so much apprehension over this process. Love your tips about the marble as I am so wanting the Calacatta marble! And Roy…thanks for the recco – I am going to reach out to him. I love your floor tile…so nice! Agree, gray grout instead of white in the kitchen surely is a must! Your tips are so worthy. Thanks again for posting.
Hi Shawna!
Thank you very much! It was a fun project to take on overall! Roy and his team were all a pleasure to work with. Good luck with your kitchen! Send me photos when it’s done and feel free to reach out with any questions!
xoxo,
Laura
I have a very similar kitchen remodel project coming up. What was your budget here? Did the final product end up coming in under or over?
Hi Jeff,
The total cost ended up being around $15,000. The quartz slab for the counters was $1500 of that and the tile I chose for the backsplash was on the more expensive side at about $1000. I messed up the paint color of the cabinets so that added a re-do of a few hundred dollars. You know what they say about construction projects… have a 15% over budget set aside just in case! -Laura
Thank you for sharing this blog! 🙂
Home and Kitchen Improvement
Kitchen Tools
Kitchen Renovation
Kitchen Design