
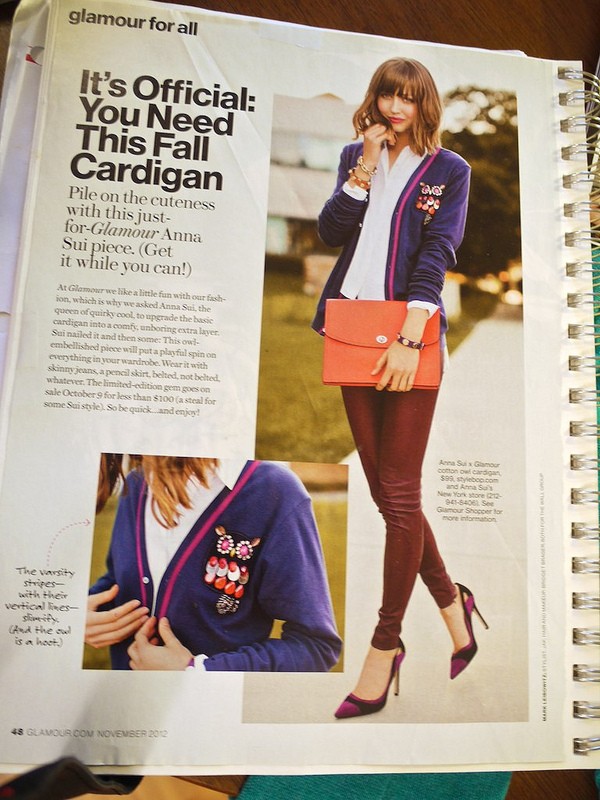
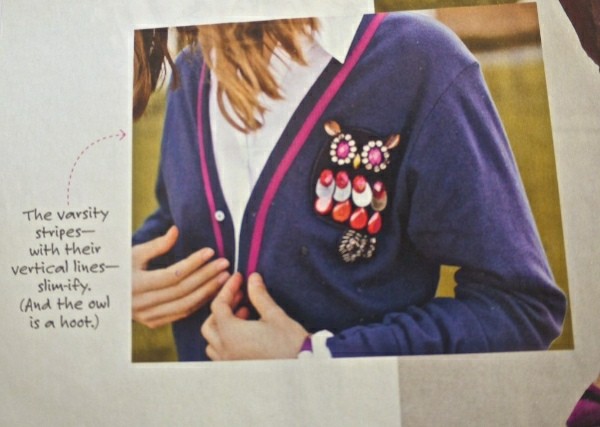
I practically fell out of my chair when I saw this Anna Sui owl cardigan in my Glamour magazine. How cute! But for $100? I could buy two complete outfits for that much money! So I decided it was time for another DIY project. (In case you missed my cap-toe glitter heels, you can check them out here.)
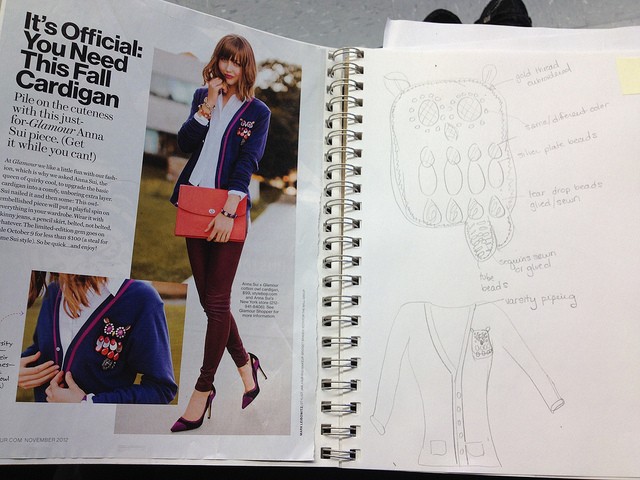
First I started off with a sketch of what I wanted to do- this helps get an idea of where to start and what you need. I bought all the supplies listed below at Target, Michaels Craft Store and Joann Fabrics:
- 1- sweater or cardigan ( I bought this teal one from Target for $19.99)
- 1-piece of brown felt
- glue ( I used all purpose tacky glue- but fabric glue would work okay too)
- tweezers (optional)
- ribbon (for varsity piping- optional)
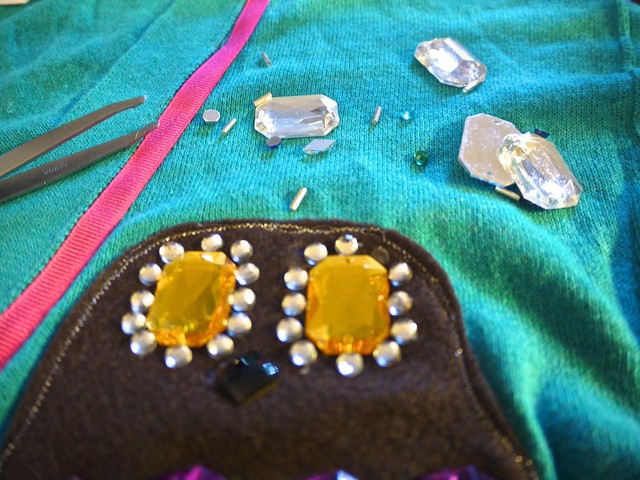
- rhinestones for eyes, beak, feathers and tail
- beads for ears (optional)
- scissors
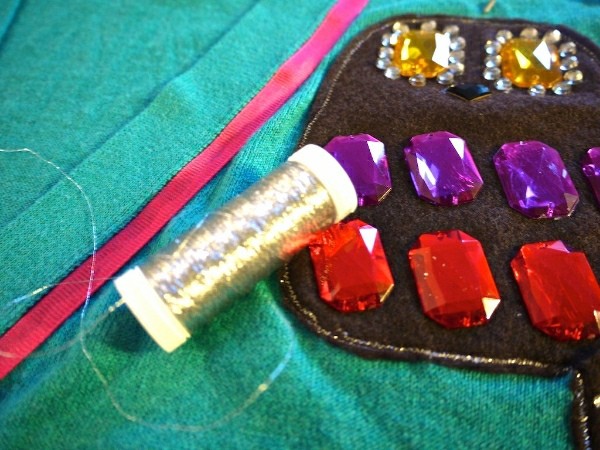
- silver thread (optional)
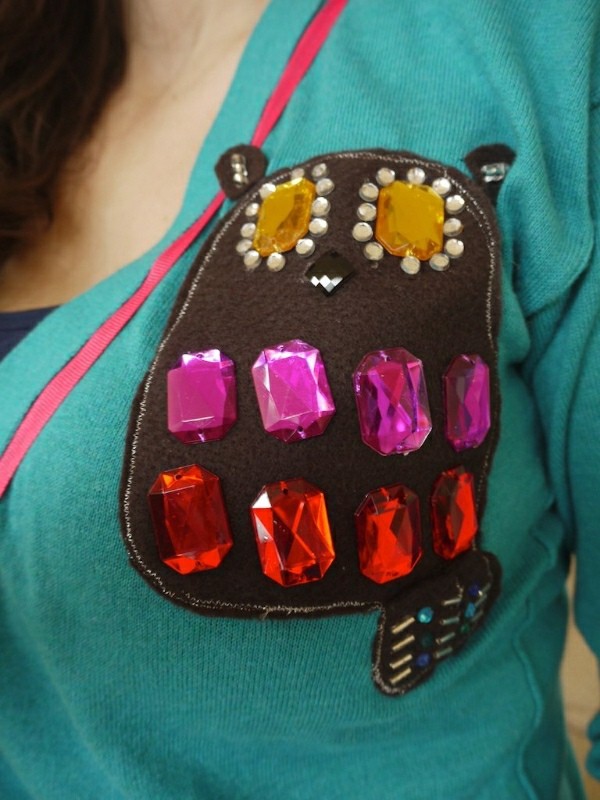
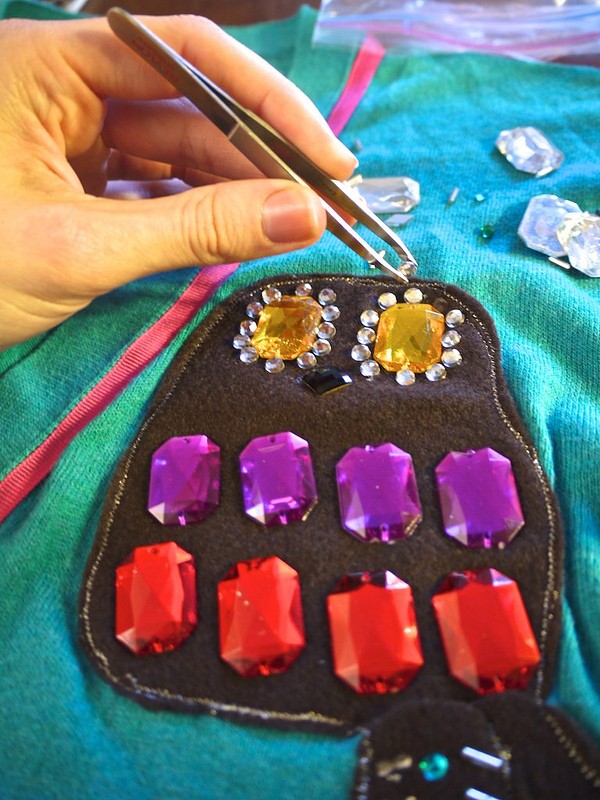
Step 3: Carefully begin gluing down your rhinestones and beads. Once complete set a heavy book on top to press the beads & rhinestones and let dry for a few hours.
Tip: I used tweezers to apply the small rhinestones around the eyes and tail to get a more precise placement.
Step 4: Once the embellishments are dry, if you have not already glued or sewn the owl to the sweater, do that now. Let dry. Here is a close up of the detailing on the owl’s tail:
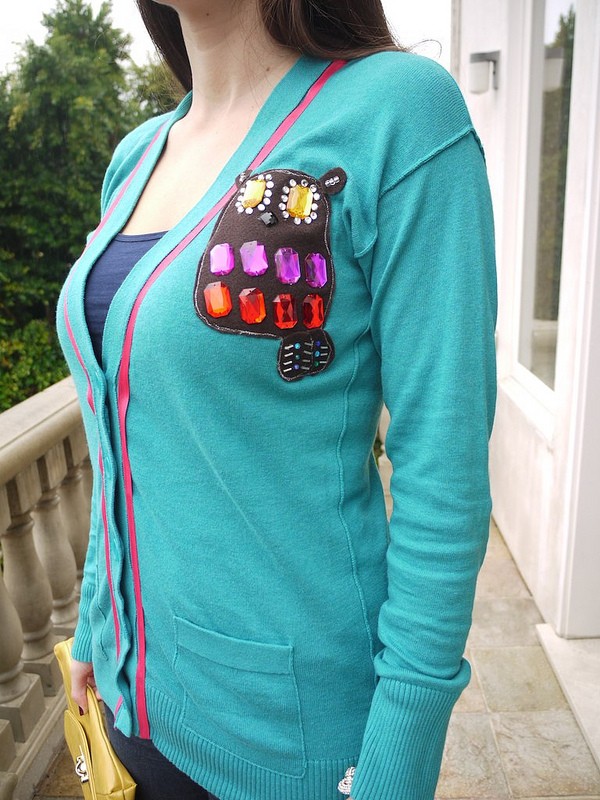
Ta-da! a gorgeous own embellished sweater for less than $ 35 dollars!







that is adorable, and certainly beats the $100 version. Nice job!
Oh my gosh, I love it!
Kristina Wilde
http://kristinawilde.blogspot.com
Such a great idea for DIY!!! The cardigan looks awesome! Great job dear
Kisses
Elena
http://dcinstyle.com/blog/
Soooo adorable! I so need to get in on your next DIY project! But you might need to teach me how to sew… 🙂
xoxo,
Nikki at http://www.bedazzlesafterdark.com
Haha no problem!