
Today I am going to show you how to make your own derby day hats for a horse race. If you have ever been to a Derby Days celebration you have seen that ladies’ Derby Day hats are a big style statement at the event. The hats are beautiful, but can be very expensive. To save money and get a bit of my crafty side out on the blog, I have put together this post for you to show you how you can make your own hat for the Derby Day races!
You can see my previous DIY Derby Days hat. Which do you like more? What items would you add to your own hat? Let me know in the comments below!
Make sure to follow me on Instagram and Twitter @Laura__Lily to see my complete Derby Days outfit this Saturday!
DIY DERBY DAY HATS TUTORIAL
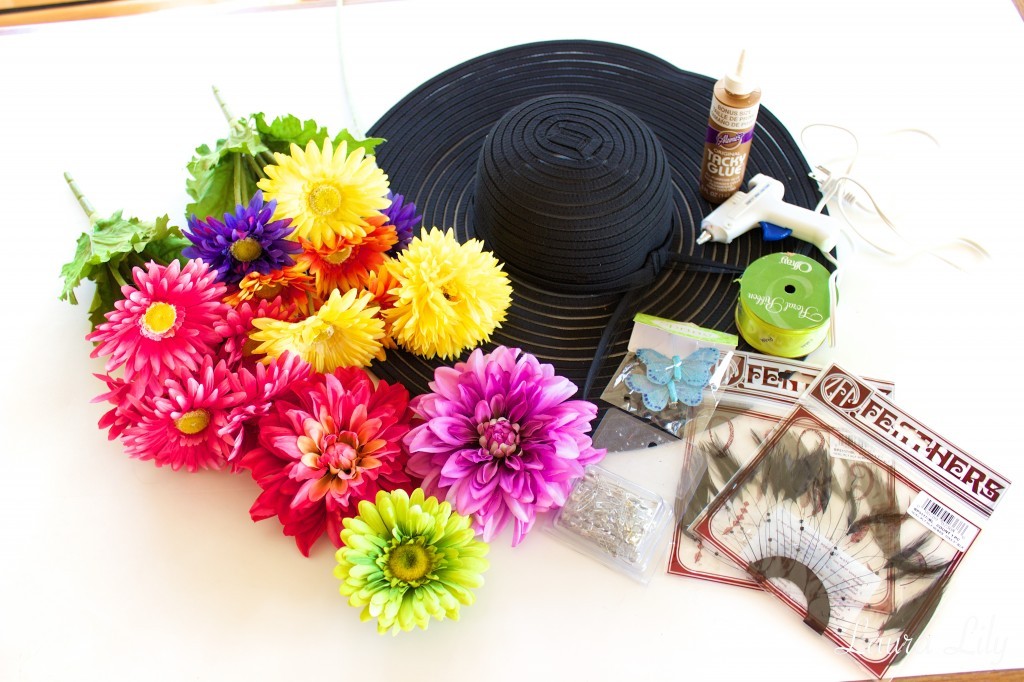
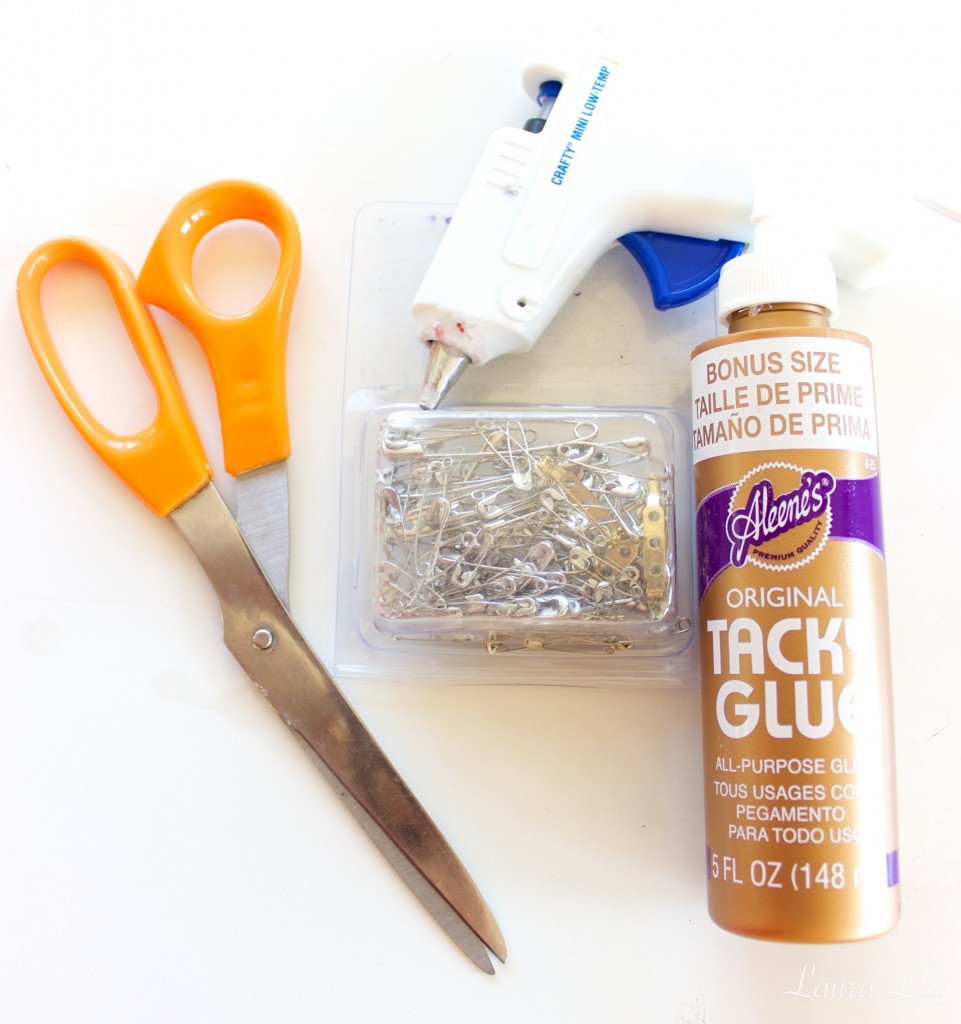
For this project, you will need:
– scissors
– safety pins
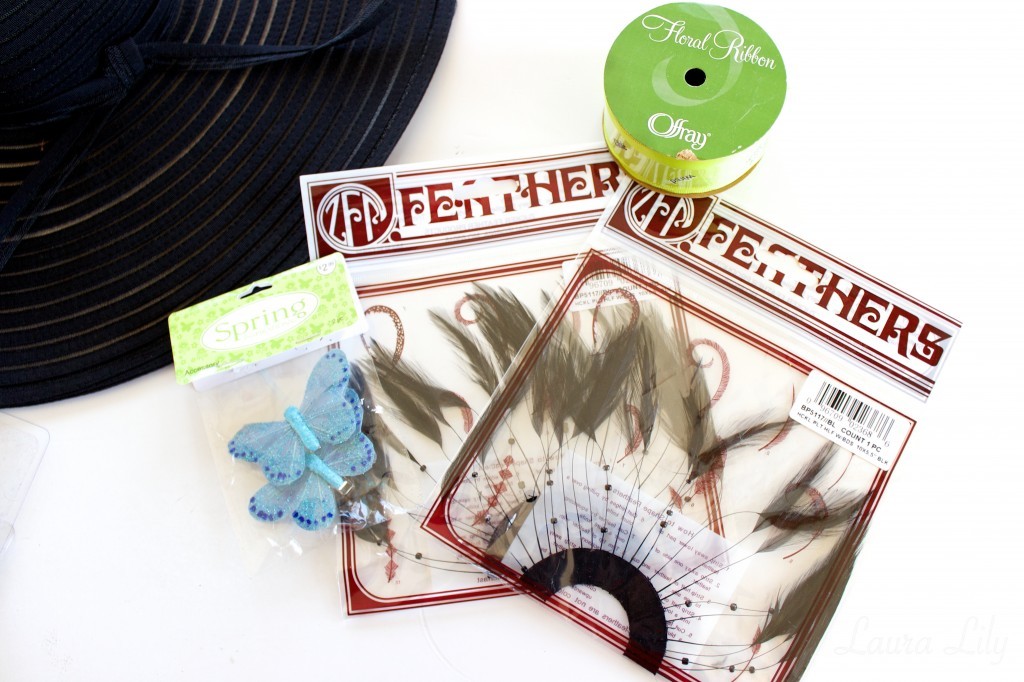
– ribbon
– hat (my hat via Boardwalk Style)
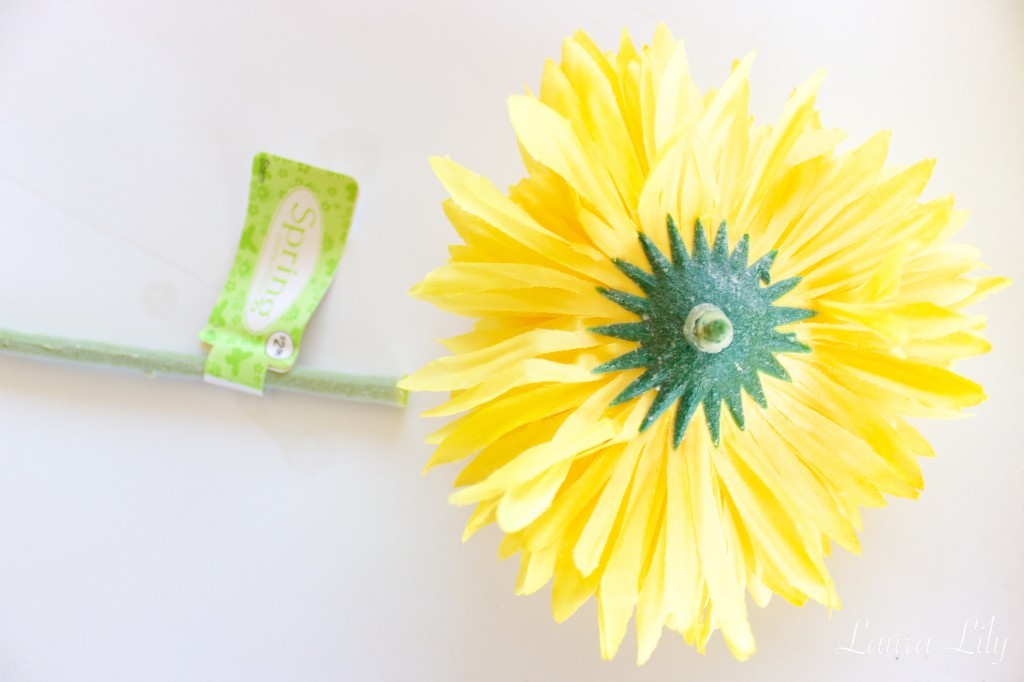
– flowers (a great place to get flowers is Michael’s or Joann’s Craft Store)
– feathers & additional items (optional)
– hot glue gun (optional)
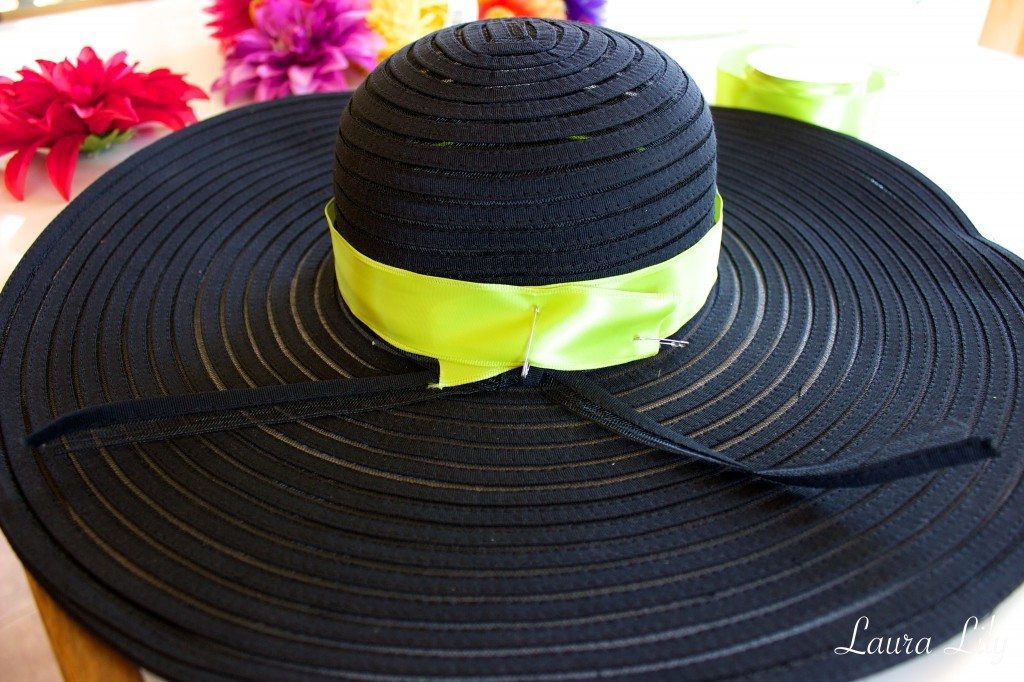
Now I actually did not use any glue on this particular hat. I have on previous Derby Day hats that I have made. For this one, I used only safety pins for two reasons: 1) I did not have the patience for the glue to dry and 2) I did not want to permanently make this black hat a derby hat as I love wearing it during the summer.
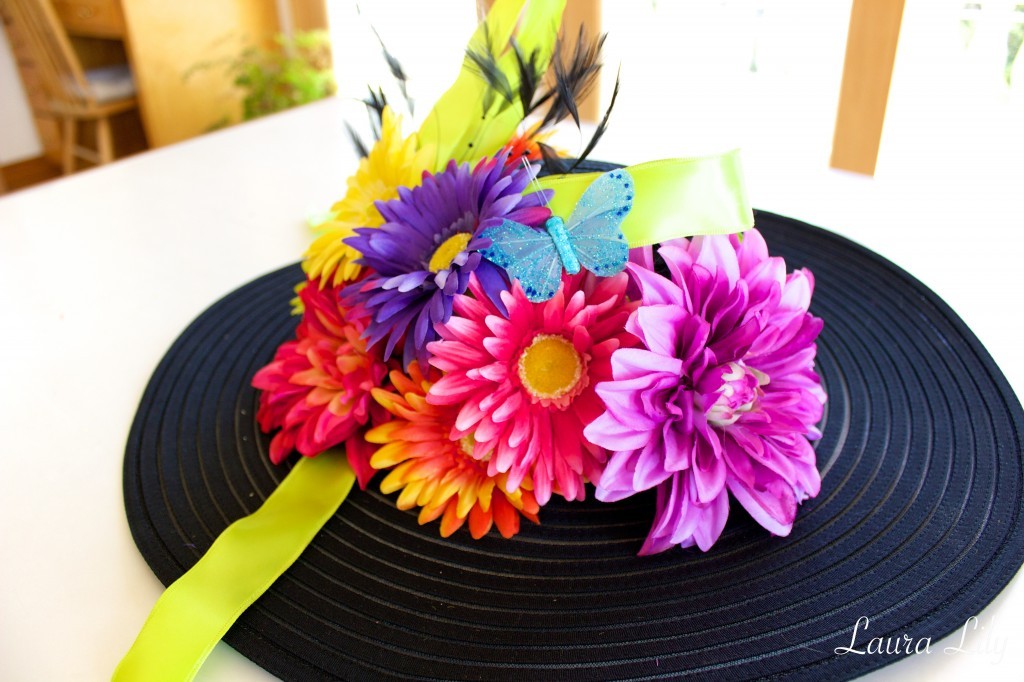
Step 1 shown above- start by wrapping ribbon around the base of the hat. I like to use a ribbon with a bit of wiring in it. This ribbons holds its shape better. You can wrap the ribbon as many times as you would like around the hat.
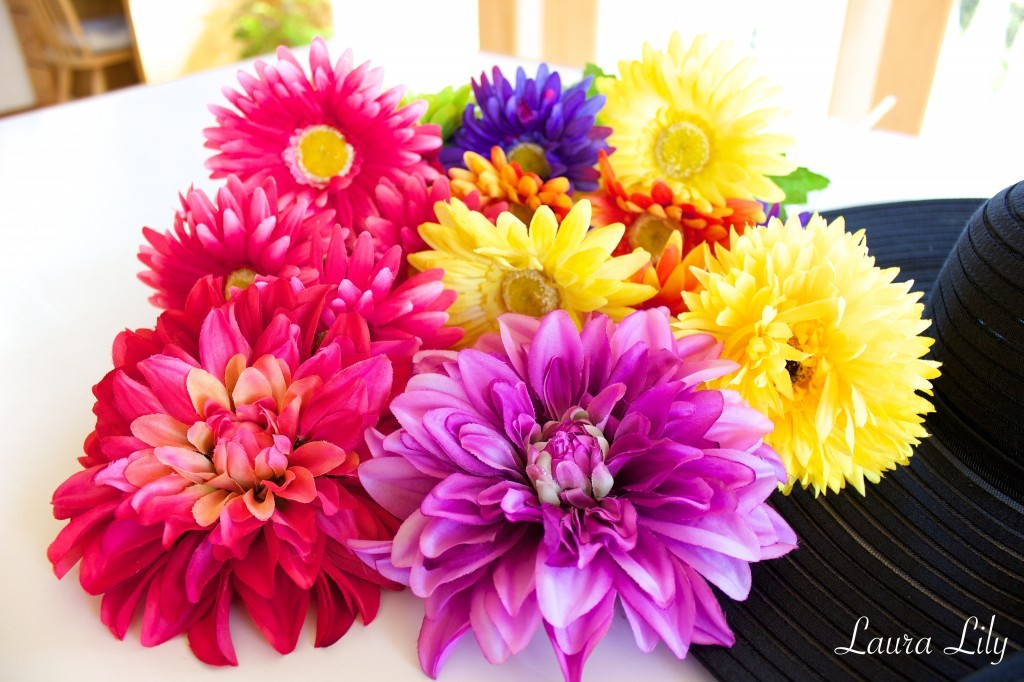
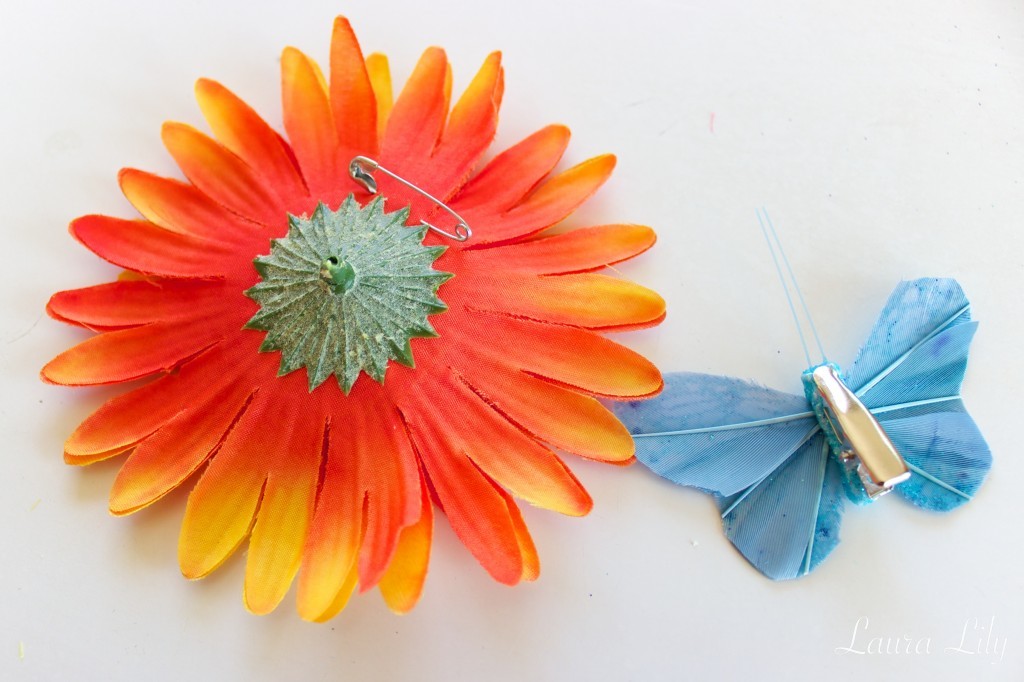
Step 2- Gather your flowers and get them prepared to pin, glue, or sew on to the hat. It is very easy to pop the flowers off of their stems. From there, you can either add a safety pin, a clip, or even purchase elements with a clip already on them as shown in the photo below.
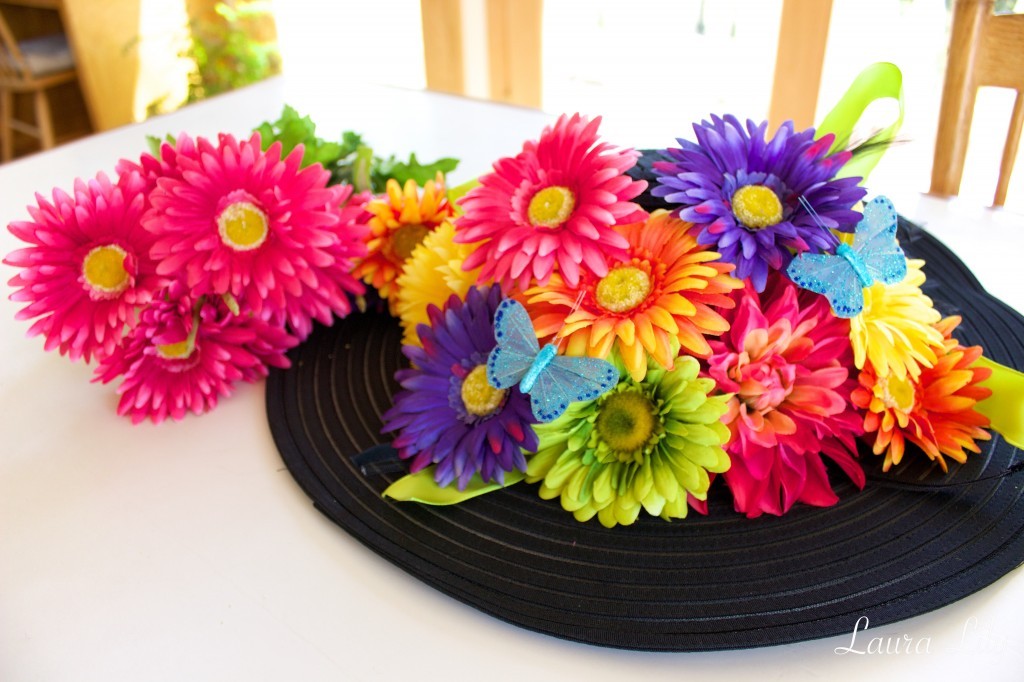
Step 3- Before gluing or pinning anything on your hat, arrange the flowers how you would like them to look. Play around with different settings. Before you begin actually adhering items to the hat, take a photo so you can remember what your arrangement looked like.
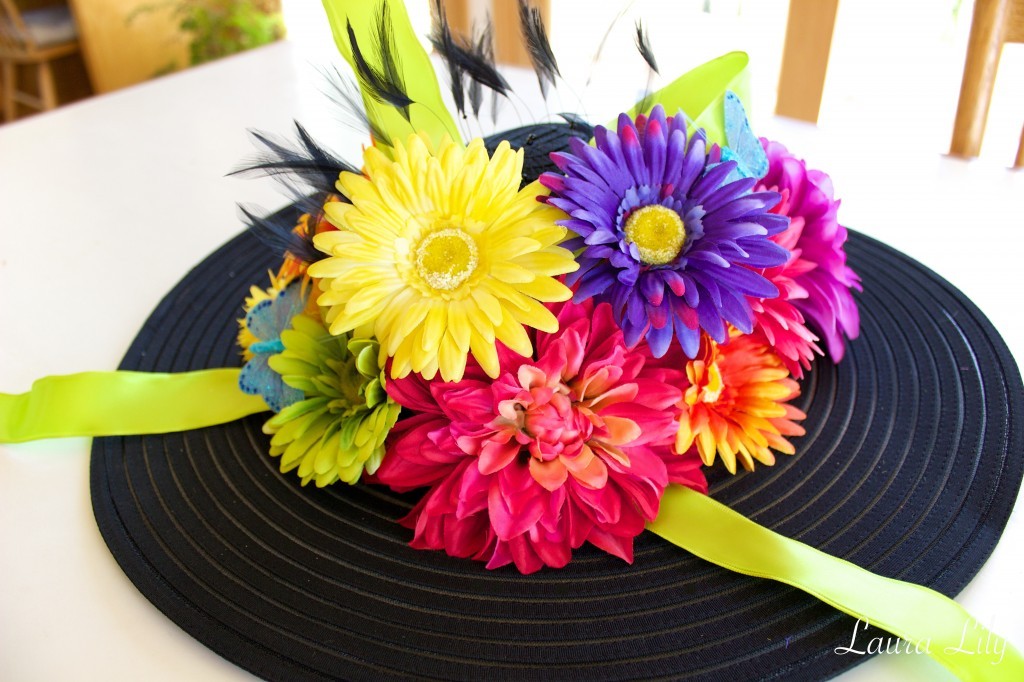
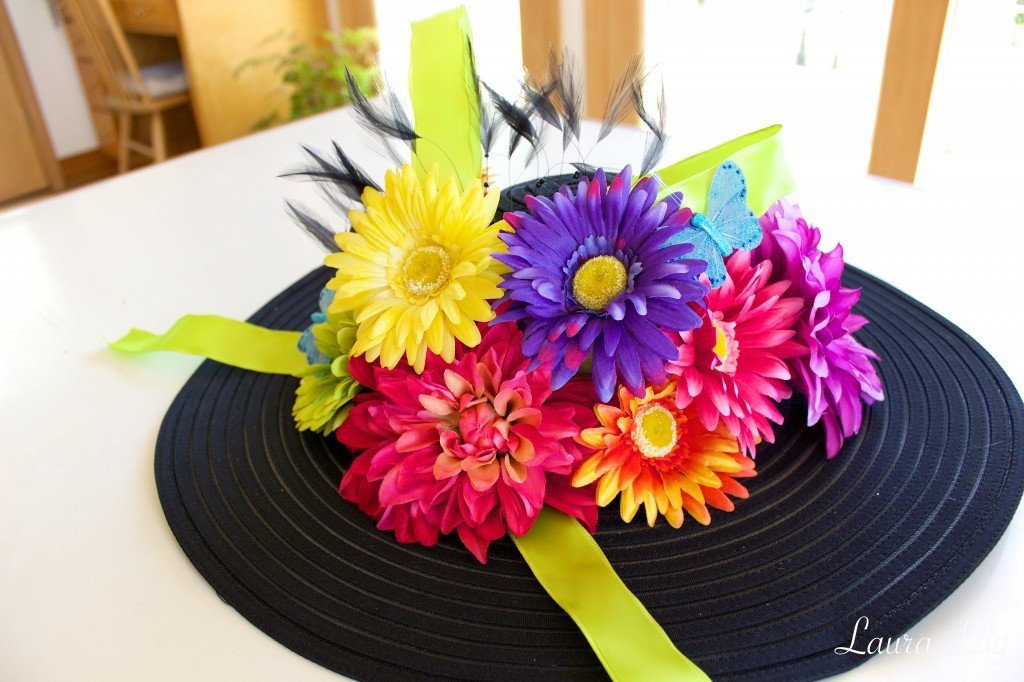
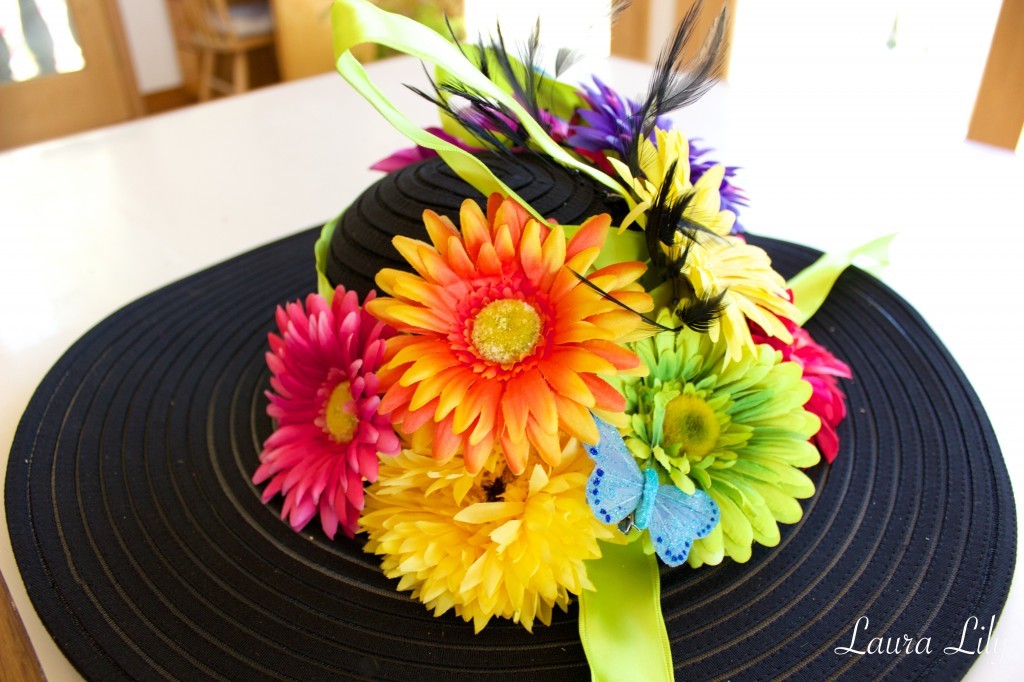
Once you are done gluing- let dry. If you used pins, make sure none of the pins are sticking out and able to poke your head. Now that your hat is ready, it is time to start planning your outfit! Enjoy!
Follow me on Twitter, Facebook, Instagram, Pinterest and Bloglovin‘ for more easy and fabulous DIY projects!
Check oiut some of my previous DIY projects here:
DIY Beaded Emilio Pucci Clutch
DIY Feather Skirt
DIY Gel Manicure by Gelish MINI
DIY Owl Cardigan
DIY Faux Fur Caplet



so colorful! (: i like the flowers, they add a really fresh touch x
DIY|HOW TO MAKE A NUDE LIPSTICK
Hello Yasmine,
Thank you!Awesome DIY nude lipstick post btw 🙂
Laura
Thank You for featuring me in your ” Kentucky derby ” blog article.
My hat was the winner at Santa Anita that day . The hat with the orange and red tones was made by a friend named Travis Suiter .
This was his first time creating a hat for me and he hand picked out everything on the hat and it only took him 4 days to finish and he stayed under my budget of $100. I love my hat and I thank you for loving it too.
You are so welcome Krystel! I absolutely loved your hat and was so glad you won. Travis is so talented. Take care and maybe I’ll see you at the next Derby Day hat contest!